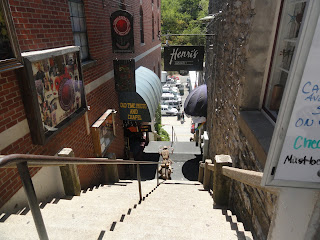
 Recently I took a trip with my sister to Eureka Springs, Arkansas. It is a beautiful little town nestled within the Ozark Mountains. The narrow streets and Victorian architecture is awe inspiring, not to mention the unique shops and exclusive art galleries. The perfect place to spend a leisurely afternoon looking for inspiration.
 We ate lunch at "The Mud Cafe", where there I was entranced by this beautiful fabric wall mural. Though we were seated too far away for me to examine how it was actually sewn together I was able to snap a photo without interrupting any other diners.It depicted a scene of Victorian dressed men and women and as you can see it is absolutely gorgeous and quite dimensional. Those are real lace ruffles on her petticoat. Throughout the entire meal I could barely keep my eyes off of it. Trying to account for every little detail and all the time thinking, "I can't wait to get home and make one of my own." Okay, so I dream big and yes I realise the amount of time that must have been put into creating this work of art but inspiration had sparked and I was not going to let it pass by. Perhaps I could start with something on a smaller scale. A pillow? Or maybe even a tote bag ? Yes I had to curb my excitement but not the notion.
By the end of the day I have to admit my shopping was minimal though my head was filled with ideas. So much creativity in this little town it almost makes you dizzy.


